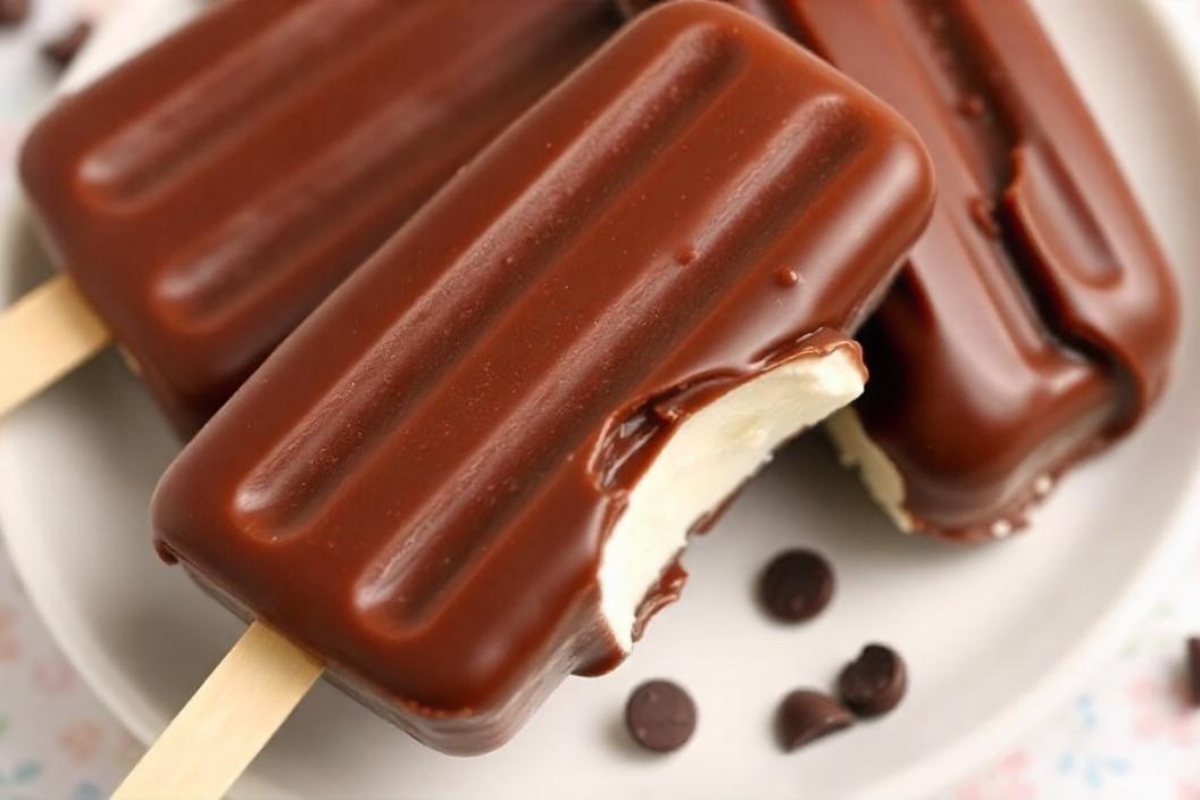
If you’re on the hunt for a creamy, chocolatey, and nostalgic treat, then the best homemade Eskimo Pie popsicle recipe is your go-to dessert. Combining the richness of vanilla ice cream with a crisp chocolate coating, these popsicles are sure to be a hit with the whole family. In this guide, you’ll discover everything you need to create this delightful treat, along with variations and expert tips to ensure your popsicles turn out perfectly.
Ingredients and Tools You Will Need
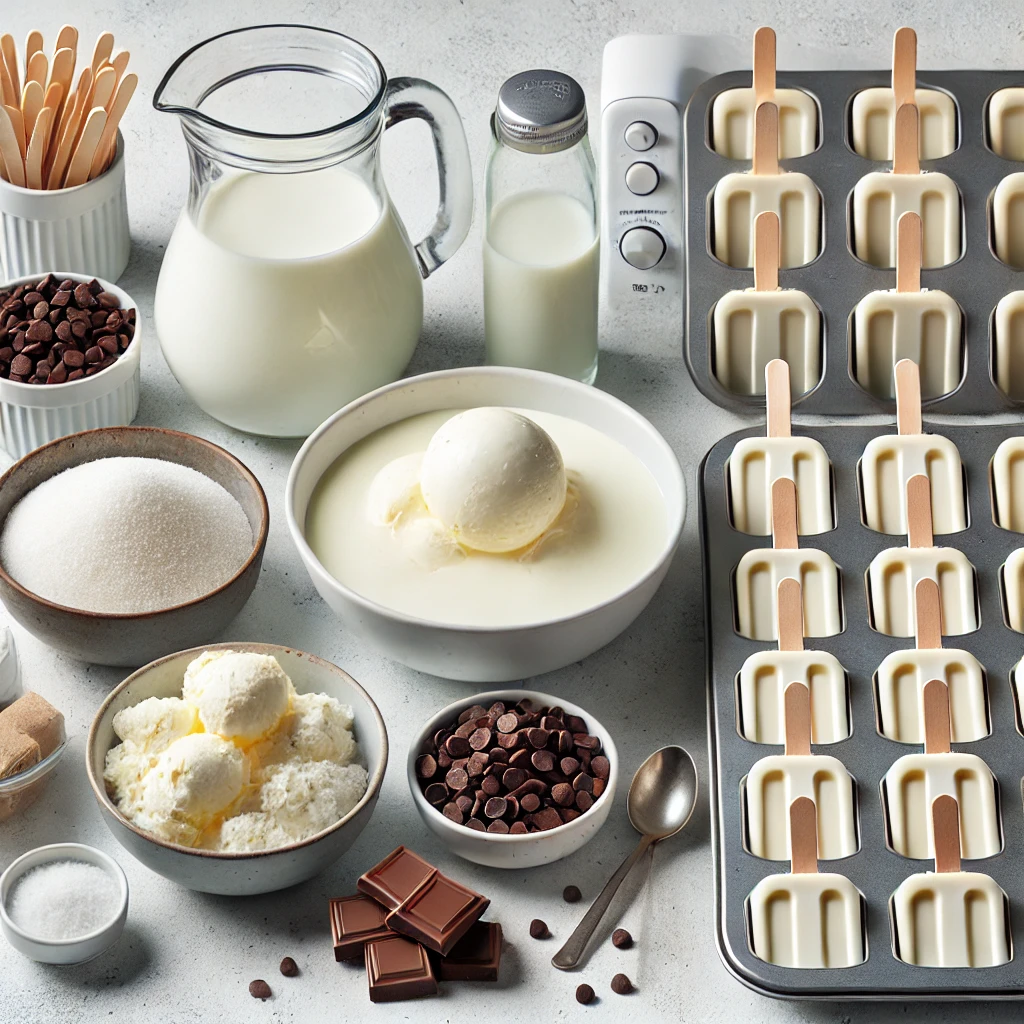
Before you begin, make sure you have all the necessary ingredients and tools. Proper preparation is essential for success with the best homemade Eskimo Pie popsicle recipe.
Ingredients:
- 2 cups heavy cream
- 1 cup whole milk
- ¾ cup granulated sugar
- One teaspoon of vanilla extract
- 12 ounces semi-sweet chocolate chips
- Two tablespoons of coconut oil
Tools:
- Popsicle molds
- Popsicle sticks
- Dipping bowls
- Microwave-safe bowl for melting chocolate
For a smooth and enjoyable popsicle-making experience, selecting the best popsicle moulds can make a big difference in achieving perfectly shaped treats.
Step-by-Step Recipe Instructions
Now that you have your ingredients and tools ready let’s walk through the process of making the best homemade Eskimo Pie popsicle recipe.
Step 1: Prepare the Ice Cream Base
Start by preparing the ice cream base that will give your popsicles their creamy texture:
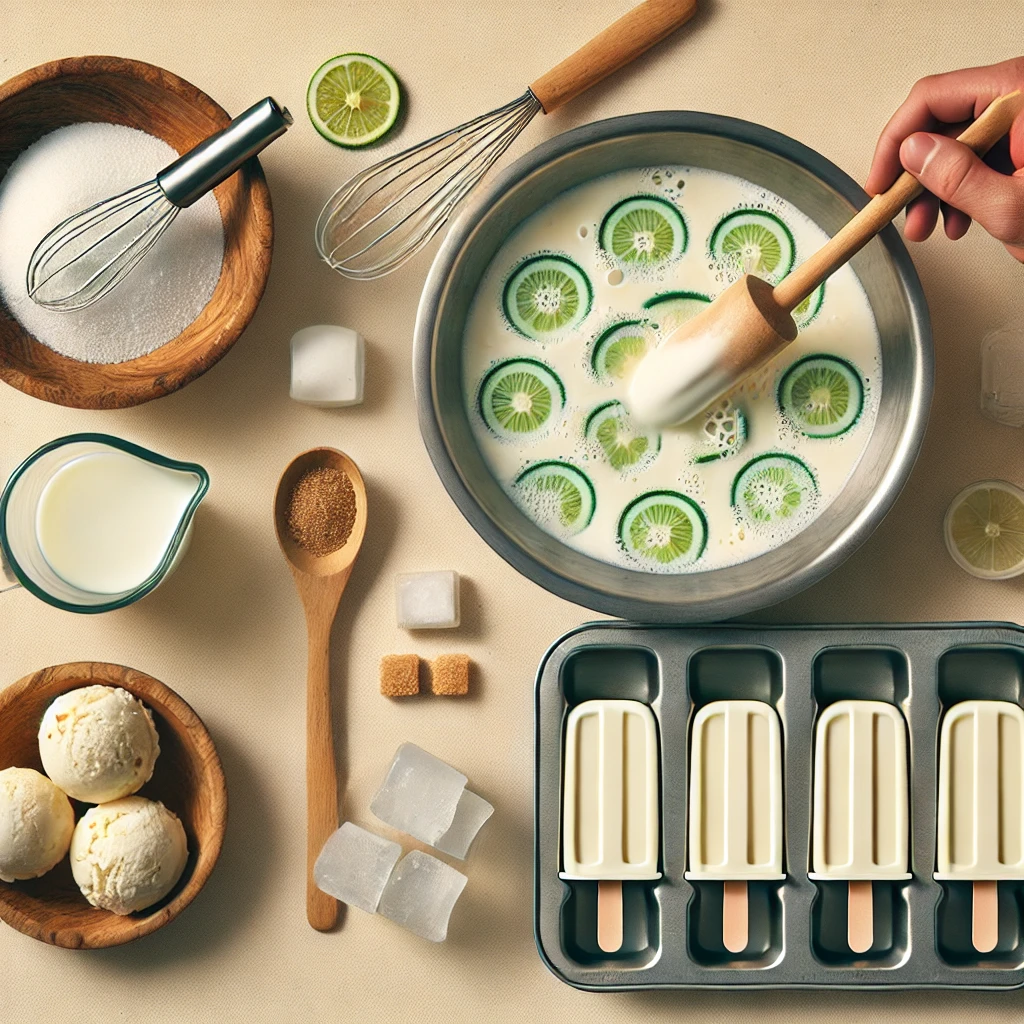
- First, in a large mixing bowl, whisk together the heavy cream, whole milk, granulated sugar, and vanilla extract until the sugar dissolves completely.
- Then, pour the mixture into popsicle moulds, leaving a little space at the top to allow for expansion during freezing.
- Next, insert the popsicle sticks and place the moulds in the freezer for 4-6 hours until fully frozen.
Step 2: Make the Chocolate Coating
While the popsicles freeze, it’s time to prepare the chocolate coating. This is an essential step that gives the popsicles their signature crispy shell.
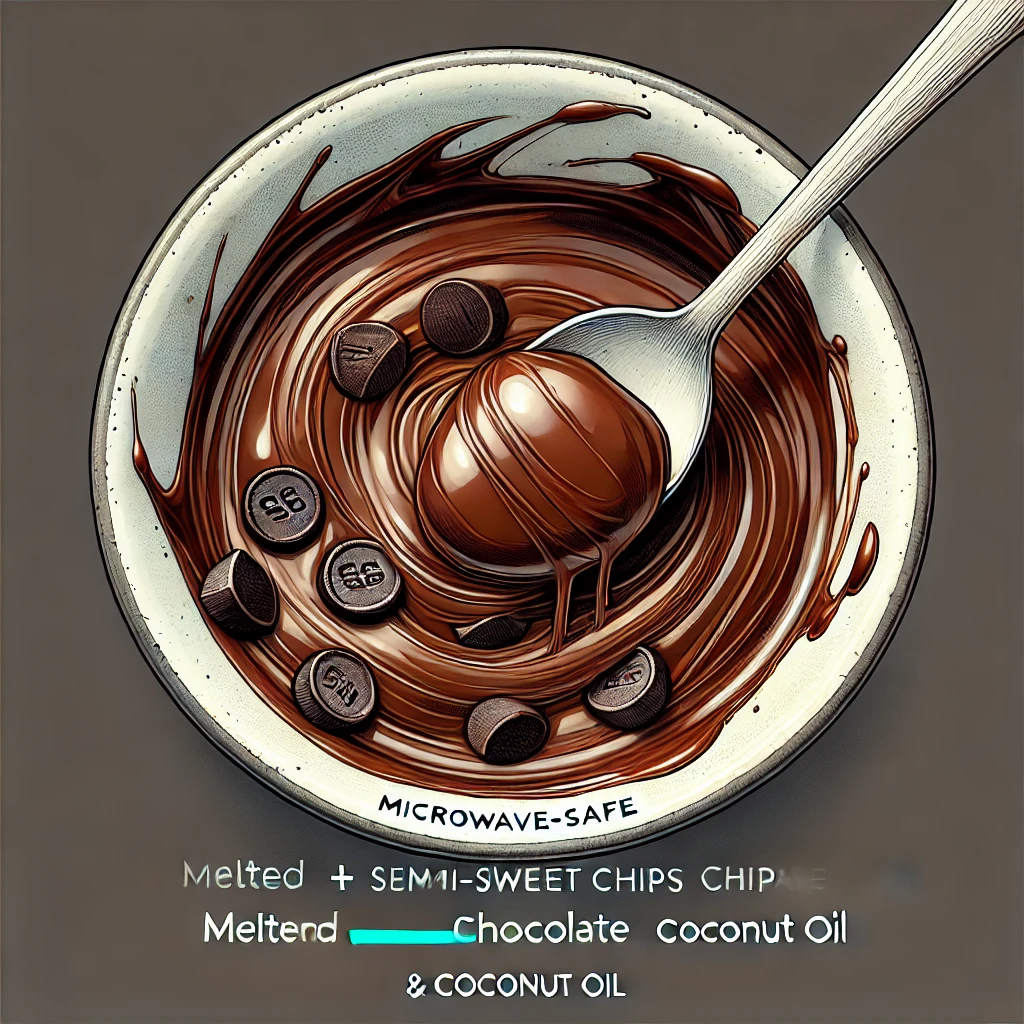
- In a microwave-safe bowl, melt the semi-sweet chocolate chips and coconut oil together. Be sure to heat in 30-second intervals, stirring in between, until smooth.
- Let the chocolate cool slightly, but ensure it remains fluid enough for easy dipping.
Achieving a perfect, crackling chocolate coating can be tricky, but following these tips for ideal chocolate coating will help you master it.
Step 3: Dip and Coat the Popsicles
Once your popsicles are fully frozen, it’s time to coat them in chocolate:
- First, remove each popsicle from its mould and dip it into the melted chocolate, ensuring full coverage.
- The cold popsicles will immediately cause the chocolate to harden, forming a crisp, crunchy shell.
- Finally, place the coated popsicles on a parchment-lined tray and return them to the freezer for 15-20 minutes to set the chocolate.
Variations on the Classic Eskimo Pie Recipe
If you want to add a creative twist to the best homemade Eskimo Pie popsicle recipe, here are some fun and easy variations:
- Mint Chocolate Eskimo Pie: Add a few drops of peppermint extract and green food colouring to the ice cream base for a refreshing twist.
- Peanut Butter Eskimo Pie: Stir peanut butter into the chocolate coating or the ice cream base for a delicious nutty flavour.
- Vegan Eskimo Pie: For a vegan option, replace heavy cream and whole milk with coconut milk or almond milk, and use dairy-free chocolate.
For other fun and versatile ingredient ideas, you can also check out the best cottage cheese recipes, which can be adapted to a variety of dishes, including frozen treats!
Tips for the Perfect Homemade Eskimo Pie Popsicle
In order to ensure your homemade Eskimo Pie popsicles come out perfectly, keep these tips in mind:
- Freezing Techniques: To guarantee your popsicles freeze evenly, be sure to freeze them for at least 4-6 hours. This will ensure they are fully set before dipping them in the chocolate.
- Coating Tricks: For a smooth, even shell, ensure that the chocolate is slightly cooled before dipping. If the chocolate is too hot, it might melt the popsicle, making the coating uneven.
- Storage Tips: To preserve the freshness of your popsicles and prevent freezer burn, it’s best to store each popsicle individually wrapped in wax paper inside an airtight container.
For additional creative serving ideas, consider trying some popular ways to eat cottage cheese that complement these frozen treats.
Frequently Asked Questions (FAQs)
How do I prevent ice crystals in homemade popsicles?
Preventing ice crystals is essential for a smooth texture. To do this, make sure your mixture has a balanced ratio of fat and sugar, as both ingredients help to inhibit large ice crystals from forming.
Can I use store-bought ice cream instead of homemade?
Yes, absolutely! Although homemade ice cream gives you control over the ingredients and flavours, using store-bought vanilla ice cream is a convenient alternative.
What can I substitute for chocolate coating?
If you’re looking for alternatives to chocolate, you can try using caramel, yoghurt, or even crushed nuts. These provide a unique twist on the classic chocolate shell.
How long should I freeze popsicles before dipping in chocolate?
To ensure the coating hardens properly, the popsicles need to be completely frozen for at least 4-6 hours before dipping them in the chocolate.
Nutritional Information and Health Considerations
These homemade Eskimo Pie popsicles are rich in flavour, but they also contain calories and sugar. Here’s a rough nutritional breakdown per popsicle:
- Calories: 250
- Sugar: 20g
- Fat: 15g
For a lighter option, you may want to use lower-fat dairy products or opt for sugar substitutes like agave syrup or honey.
Serving Suggestions
In conclusion, the best homemade Eskimo Pie popsicle recipe provides a refreshing and customizable treat that’s perfect for any occasion. Whether you’re enjoying them on a hot summer day or serving them as a fun dessert at a party, these popsicles are guaranteed to impress! Stick to the classic chocolate-covered vanilla version, or experiment with exciting flavours like mint or peanut butter—the choice is yours.
For an added twist, you can serve them with extra toppings like crushed nuts, a drizzle of caramel sauce, or even a sprinkle of sea salt. Enjoy your delicious homemade treat!


